Export translations
When sufficient translations have been gathered, it’s time to export them for use in your application. When exporting, a localization file will be created for each selected language. These files can then be imported back into your development tool.
Note that the generated localization files will only contain the ‘best’ translations (the automatically selected translation with the highest confidence level, or the translation that you manually pinned).
Exporting a localization file
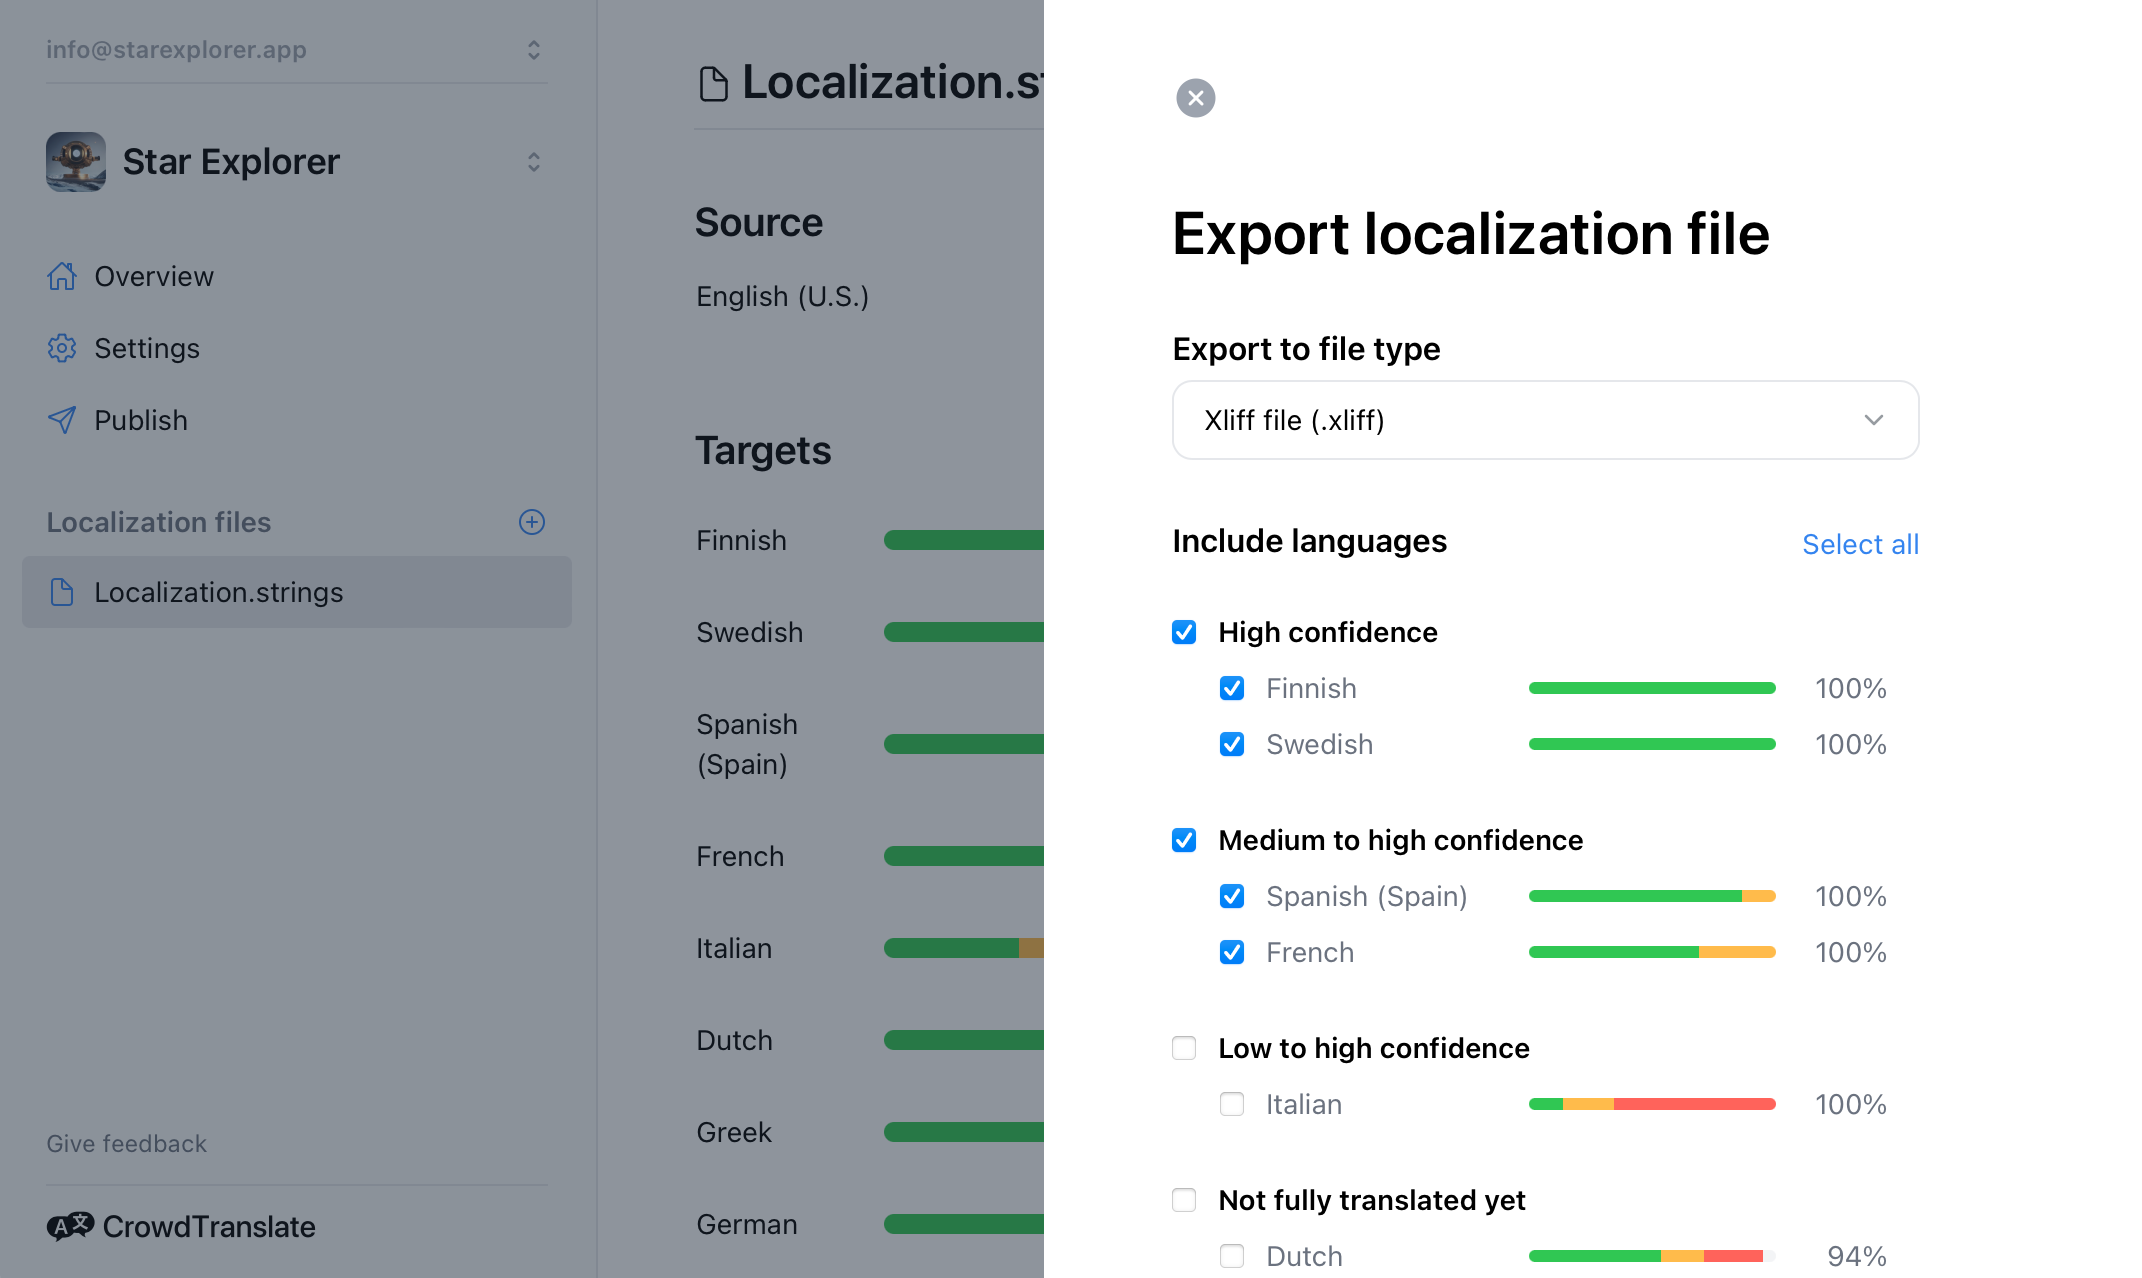
To start, first select a localization file from the sidebar and then click on the Export button located in the menu on the top-right. A popup window will then appear.

Export to file type
Choose the file type that best suits your needs. Your selection here will largely depend on the development tool you’re using. For instance, if you’re working with Xcode, you’ll likely want to export an Xliff or Strings file. If you’re working in Android Studio, an XML file is likely more appropriate.
Include languages
You have the option to export either a single language or multiple languages simultaneously. If you choose to export multiple languages, the generated localization files for each language will be bundled into a single zip file.
The languages are grouped according to their confidence levels. It’s advisable to export only those languages with high confidence levels and allow more time for those languages that currently have low confidence levels.
After setting your preferences, click on the Download button.
ℹ️ Note: If your source strings are distributed across multiple localization files uploaded to CrowdTranslate, you’ll need to repeat this process for each file.